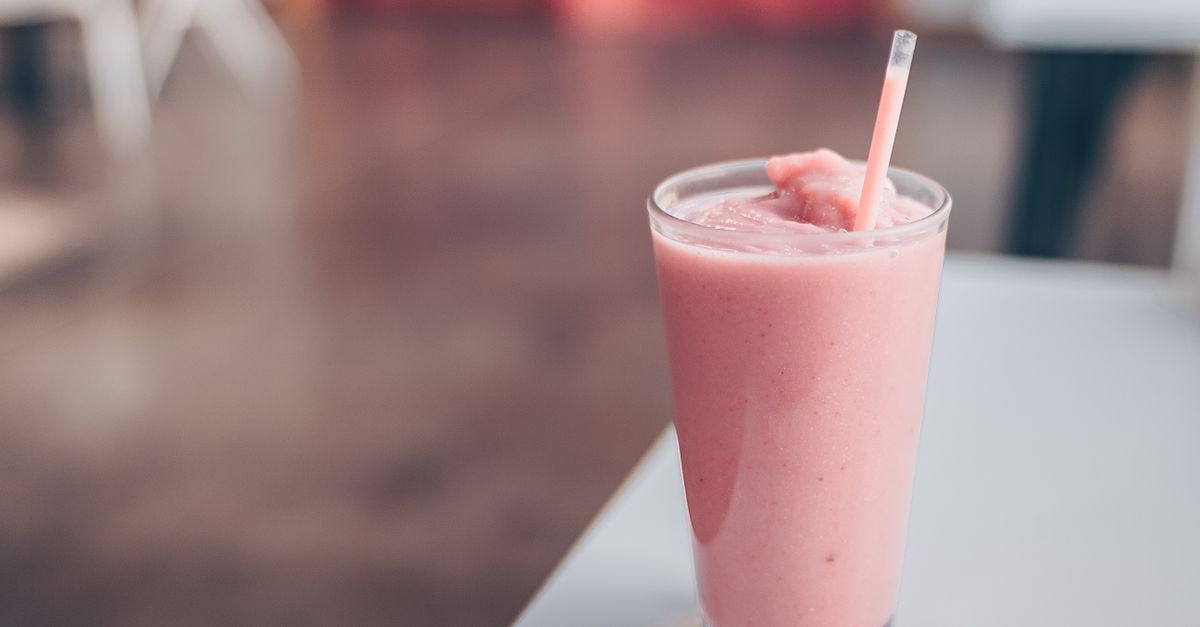
Why Your Homemade Smoothies Are Gritty (And The Simple Shifts That Guarantee Silky Smooth Perfection)
Are you tired of making smoothies at home that promise creamy bliss but deliver a disappointing, gritty mouthful? I’ve been there. For years, my morning ‘healthy’ smoothies were more like a chunky soup than the velvety concoctions I craved from my favorite juice bar. I’d blend for what felt like an eternity, add more liquid, then blend again, only to be met with the same unpleasant, fibrous texture. It wasn’t just frustrating; it made me question if my blender was faulty or if I was simply destined for sub-par smoothies.
The truth is, achieving that silky-smooth texture isn’t about having a commercial-grade blender or magically perfect ingredients. It’s about a few specific, often overlooked techniques in ingredient selection, preparation, and blending order that can transform your homemade smoothies from gritty to glorious. In my experience, the biggest mistake most people make is a lack of intentionality in how they approach their blend, assuming all ingredients can just be tossed in and pulverized equally. This leads to common culprits like unblended leafy greens, fibrous fruit pieces, or a sandy residue from seeds.
What changed everything for me was understanding the science behind the blend – how different ingredients break down, and how to optimize that process. Once I started applying these simple shifts, my smoothies went from an effort in texture management to a consistent, delicious delight. No more gritting my teeth through my morning dose of nutrients. Here’s how you can achieve that perfect, sip-worthy smoothness every single time.
Key Takeaways
- Achieve ultimate smoothness by layering ingredients correctly: liquids first, then soft fruits/powders, then frozen items, and finally fibrous greens or nuts.
- Always use frozen fruit or ice to thicken and chill your smoothie without adding extra water that dilutes flavor.
- Blend in stages, starting on low to break down solids, then gradually increasing to high for a sustained period to fully emulsify all ingredients.
- Pre-soaking fibrous ingredients like dates or nuts, or blanching tough greens, can significantly improve your smoothie’s final texture.
The Layering Secret: Not All Ingredients Are Created Equal
The order in which you add ingredients to your blender is not merely a suggestion; it’s a foundational law for smoothie perfection. Most people just toss everything in, hit ‘blend,’ and hope for the best. This approach is precisely why many smoothies end up gritty. Your blender needs a clear path to work efficiently. Think of it like a cascade: you want to create a vortex that pulls solids down into the blades, rather than having tough ingredients just sitting on top, stubbornly resisting the blend.
What I learned: Always start with your liquids. This creates the necessary foundation for the blades to move freely and start the vortex. Next, add your softest ingredients – fresh fruits, yogurt, protein powder, or nut butter. These will quickly break down into the liquid, creating a base that helps pull down the harder items. Only then should you introduce your frozen fruits and ice. They are denser and require more force to break down, but with a liquid-and-soft-ingredient base, they’ll be processed much more effectively. Finally, if you’re adding leafy greens, nuts, or seeds, put them on top. These fibrous or small, hard ingredients need to be systematically pulled into the already liquified mix to ensure they are fully pulverized, not just swirled around intact.
For example, if I’m making a spinach and banana smoothie, I’ll pour in my almond milk first, then scoop in the protein powder and a dollop of almond butter. Next, come the frozen banana slices. Finally, I’ll pack in the fresh spinach leaves on top. This order ensures the spinach doesn’t just cling to the sides but gets incorporated and completely blended into the growing vortex of liquid and soft fruit. This single change, more than any other, revolutionized the consistency of my smoothies.
Optimize Your Blending Technique: Speed Isn’t Always the Answer
Another common misconception is that simply blending on the highest setting for a long time will guarantee a smooth result. While high power is eventually needed, starting too aggressively can actually create air pockets and prevent proper breakdown. Imagine trying to chop a pile of vegetables by just slamming down a sharp knife – you’d mostly just smash the top layer. A good chef uses a controlled, progressive approach, and your blender needs the same.
My proven method: Begin blending on a low setting for about 10-15 seconds. This initial pulse helps to break down larger, harder pieces like frozen fruit or ice and initiates the vortex. It also helps to dislodge any ingredients stuck at the bottom or sides. After this initial breakdown, gradually increase the speed to a medium setting for another 20-30 seconds. This phase is crucial for further pulverizing ingredients and starting the emulsification process. Finally, ramp up to the highest setting and let it run for a full 60-90 seconds. This sustained high-speed blending is where the magic happens – it fully breaks down any remaining fibers, creates microscopic particles, and aerates the smoothie just enough to give it that light, creamy mouthfeel, rather than a dense, gritty one.
If you have a tamper, use it! It’s designed to push ingredients down into the blades without adding more liquid, which is critical for maintaining flavor intensity. When I first started using a tamper on that long, high-speed blend, I saw a dramatic difference. Ingredients that used to hide or resist the blades were forced into the action, resulting in a much more uniform and delightful texture. Don’t be afraid to stop and scrape down the sides if you see chunks clinging on, especially when working with sticky ingredients like dates or thick nut butters, before resuming the high-speed blend.
Ingredient Preparation: Pre-Emptive Strikes Against Grittiness
Sometimes, even with perfect layering and blending technique, certain ingredients are just inherently more prone to grittiness. This is where pre-preparation comes in. I used to think all fresh produce was created equal, but I quickly learned that some items need a little extra TLC before they hit the blender.
My go-to tricks: For leafy greens like kale or collard greens, especially if they’re particularly fibrous, consider blanching them quickly before freezing or blending. A quick dip in boiling water for 30 seconds, followed by an ice bath, softens the fibers significantly without compromising nutrient content, and makes them practically disappear into your smoothie. If blanching is too much effort, at least remove any tough stems. For nuts and seeds (like chia, flax, or hemp), soaking them in a small amount of liquid for 15-30 minutes beforehand can make a world of difference. Soaking helps to soften their outer shells and allows them to blend into a finer, less noticeable consistency. Similarly, if you’re using dried fruits like dates or figs, a quick soak in warm water softens them dramatically, preventing those annoying sticky clumps or small, hard pieces that resist blending.
Another trick I picked up: always use frozen fruit instead of fresh fruit and ice. While ice adds chill, it can also dilute the flavor and, if not fully blended, leave small, sharp ice crystals. Frozen fruit, on the other hand, provides both chill and thickness without dilution. Whenever I cut up fresh bananas or berries, I immediately transfer them to a freezer-safe bag to use in future smoothies. This not only improves texture but also makes smoothie prep incredibly convenient.
The Power of the Right Liquid Ratio and Type
Your liquid base is the unsung hero of a smooth smoothie. Too little liquid, and your blender will struggle, resulting in a thick, chunky mess. Too much, and you’ll have a watery, flavorless drink. The type of liquid also plays a significant role in the overall texture and flavor profile.
What I’ve mastered: Start with a conservative amount of liquid, typically 1 cup (240ml) for an average-sized single serving smoothie, and add more gradually as needed. The goal is to create a thick, pourable consistency, not a watery one. As I blend, if the blades are struggling or the mixture is too dense, I’ll add liquid in small increments – about 1/4 cup (60ml) at a time – allowing the blender to incorporate it fully before adding more. This controlled addition prevents over-dilution. I also pay attention to the type of liquid.
For an ultra-creamy texture, I often gravitate towards full-fat coconut milk (from a can, not a carton) or cashew milk. Their higher fat content contributes to a luscious mouthfeel that water or thinner milks simply can’t achieve. Even a spoonful of full-fat yogurt or a scoop of unsweetened canned pumpkin can significantly boost creaminess without dramatically altering flavor. If you’re using water as your base, try adding a tablespoon of neutral-flavored oil (like MCT oil or a mild olive oil) to mimic some of that creaminess. This isn’t just about taste; the right liquid ratio and type ensure the blender can effectively emulsify all ingredients, leaving no gritty stragglers behind. Once I started being more mindful of my liquid choices and additions, my smoothies achieved a consistency that consistently rivals any professional blend.
Frequently Asked Questions
Q: My smoothie is still gritty even after blending for a long time. What am I doing wrong?
A: Over-blending on a low setting or with insufficient liquid can actually create air pockets and prevent proper breakdown. Ensure you’re layering ingredients correctly (liquids first, then soft, then frozen/fibrous), starting on low speed to initiate a vortex, then gradually increasing to high for a sustained 60-90 seconds. Also, consider pre-soaking or blanching fibrous ingredients like nuts, seeds, or tough greens.
Q: Can my blender be the problem? Do I need an expensive high-speed blender?
A: While a powerful blender certainly helps, you don’t necessarily need a top-tier model. Many standard blenders can achieve smooth results with the right technique. The key is proper layering, sufficient (but not excessive) liquid, and a progressive blending approach (low to high). If your blender struggles even with these tips, it might be time for an upgrade, but try the techniques first.
Q: How do I make my smoothie thicker without adding more frozen fruit or ice?
A: To thicken without more frozen fruit or ice, consider adding ingredients like 1/4 cup of rolled oats, a tablespoon of chia seeds (soaked for 10-15 minutes), a tablespoon of nut butter, a scoop of unsweetened canned pumpkin, or even a quarter of an avocado. These add volume and creaminess without diluting the flavor.
Q: My smoothie separates quickly after blending. How can I prevent this?
A: Separation often occurs when ingredients aren’t fully emulsified. Ensure you’re blending on high speed for a sufficient duration (60-90 seconds) to thoroughly break down all components. Adding a small amount of an emulsifying agent like chia seeds (which swell and bind liquids), a spoonful of nut butter, or even a tiny amount of lecithin powder can help keep everything together for longer.
Q: What’s the best way to clean my blender after making a smoothie, especially if it’s sticky?
A: Immediately after pouring your smoothie, rinse the blender carafe with water. For a deeper clean, fill the blender about halfway with warm water, add a drop of dish soap, and blend on high for 30-60 seconds. This self-cleaning action dislodges most residue. Then, rinse thoroughly and let it air dry. This prevents stubborn dried-on grime.
Embracing these intentional shifts transformed my smoothie game entirely. What once felt like a battle against fibrous chunks became a joyful ritual of creating perfectly smooth, delicious blends every morning. Don’t let a gritty texture deter you from the incredible health benefits and convenience of homemade smoothies. Start by focusing on your layering, master your blending speed, and consider a little pre-prep for stubborn ingredients. You’ll be amazed at the difference a few mindful adjustments can make, turning every sip into pure, velvety perfection. What’s one small change you’ll make to your next smoothie routine?
Written by Sarah Chen
Holistic Health & Wellness
A former health reporter passionate about demystifying wellness trends into practical daily habits.
You Might Also Like

Why Your Home Still Feels Stale (Even After Cleaning) — And What Actually Works for Real Freshness
Discover why your home still smells stale after cleaning and learn practical, non-obvious strategies for true, lasting freshness.
Why Your Homemade Cookies Are Flat, Not Puffy (And The Simple Shifts That Guarantee Perfect, Puffy Results Every Time)
Ever wonder why your homemade cookies spread too thin? Discover the overlooked factors and simple shifts for achieving perfectly puffy, soft cookies.
Why Your Homemade Sauces Are Greasy, Not Velvety (And The Pro Secrets for Silky Perfection Every Time)
Struggling with greasy, separated sauces? Learn the pro secrets to emulsify like a chef and achieve velvety perfection every time.