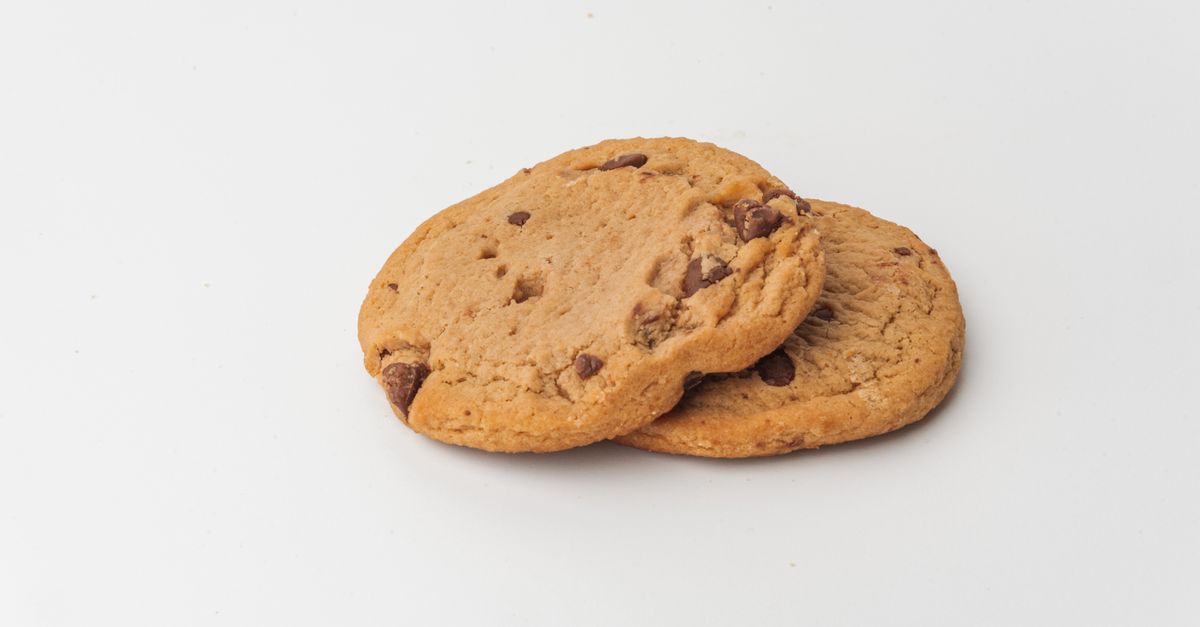
Why Your Homemade Cookies Are Flat, Not Chewy (And The Simple Shifts That Guarantee Puffy, Soft Perfection)
Are your homemade cookies consistently spreading into thin, crispy discs instead of baking up into those delightful, puffy, chewy mounds you crave? I’ve been there. For years, my cookie aspirations were dashed by batches that looked more like edible frisbees than bakery-worthy treats. I followed recipes to the letter, used fresh ingredients, and yet, the results were always the same: flat, often greasy, and rarely possessing that coveted soft, chewy center. It was frustrating, and honestly, a little disheartening when all I wanted was a comforting, perfectly textured cookie.
What I eventually learned, through countless failed experiments and a deep dive into the science of baking, is that the problem rarely lies with the recipe itself. More often, it’s a few subtle, yet critical, missteps in technique and ingredient handling that most home bakers overlook. These aren’t just minor adjustments; they’re game-changers that fundamentally alter the structure and texture of your cookies. Once I started paying attention to these details, my cookie game transformed from consistently disappointing to reliably delicious. Now, I rarely have a flat cookie disaster.
Key Takeaways
- Don’t overmix your butter and sugar: Creaming for too long incorporates too much air, leading to collapse in the oven.
- Control your butter temperature precisely: Butter that is too soft or melted ruins the cookie’s structure and causes excessive spreading.
- Chill your dough, especially when it’s warm: Cold dough resists spreading initially, allowing the edges to set before the butter melts completely.
- Avoid overcrowded baking sheets and inconsistent oven temperatures: These factors contribute to uneven baking and undesirable spreading.
The Overlooked Enemy: Over-Creaming Butter and Sugar
This is perhaps the most common and insidious culprit behind flat cookies, yet it’s something many home bakers do religiously, thinking it’s the key to light, airy results. Conventional wisdom often dictates creaming butter and sugar until it’s “light and fluffy.” While this is true for some cakes, in many cookie recipes, it’s a recipe for disaster. When you cream butter and sugar for too long, you incorporate an excessive amount of air into the mixture. Think of it like building a house of cards: the more air you whip in, the more delicate and unstable the structure becomes.
In the hot environment of the oven, this super-aerated mixture expands rapidly dues to the melting butter and the expanding air. However, because the structure is so delicate, it can’t hold its form. The cookie expands and then quickly collapses, spreading outwards rather than rising upwards. I once spent a full 7 minutes creaming butter and sugar for a batch of chocolate chip cookies, convinced I was creating magic. The result? The thinnest, crispiest, greasiest cookies I’d ever made. It was a revelation. What changed everything for me was drastically reducing the creaming time to a mere 1-2 minutes, just until the mixture is combined and lightened slightly, but not overtly fluffy. The butter should still look creamy, but not like whipped frosting. This creates a denser, more stable base that holds its shape better in the oven.
To implement this: use a stand mixer or hand mixer on medium speed, but only for about 1 to 2 minutes. The goal is to fully combine the butter and sugar, not to whip it into a cloud. Stop as soon as it looks uniformly creamy and slightly pale. This simple shift will make a profound difference in your cookie texture.
The Unsung Hero: Precise Butter Temperature
Another critical factor I consistently overlooked was the temperature of my butter. Recipes often call for “room temperature butter,” but what does that actually mean? For years, I just pulled butter out of the fridge an hour before, or worse, nuked it in the microwave until it was soft. Both methods lead to trouble. Butter that is too cold doesn’t cream properly with sugar, resulting in dense, crumbly cookies. However, butter that is too warm – soft to the point of being greasy, or even partially melted – is far worse for achieving a puffy, chewy cookie.
When butter is too soft, it can’t hold those tiny air pockets that are crucial for structure. Imagine trying to build a sandcastle with overly wet sand; it just slumps. In the oven, overly soft butter melts too quickly, before the other ingredients have a chance to set. This rapid melting causes the cookies to spread out immediately and excessively, resulting in a thin, flat profile. The ideal “room temperature” butter should yield slightly to the touch when gently pressed, but still retain its shape. It should not look greasy or have any melted spots.
My personal rule of thumb now is to take the butter out 30-45 minutes before I start baking, depending on the ambient room temperature. If I forget, I’ll cut it into smaller pieces and let it sit for 10-15 minutes. Never microwave it unless the recipe specifically calls for melted butter. This small adjustment ensures your butter can effectively emulsify with the sugar and create a stable, airy foundation that won’t give way under heat.
The Necessity of Chilling: It’s Not Just for Flavor
Many cookie recipes suggest chilling the dough, primarily for flavor development or easier handling. While both are valid reasons, the most impactful benefit of chilling, especially for avoiding flat cookies, is structural. Cold dough simply spreads less in the oven. When you place chilled dough on a hot baking sheet, the butter within the dough takes longer to melt. This extended melting time gives the cookie’s edges and structure more opportunity to set and solidify before the entire mass begins to spread.
Think of it this way: if your butter melts too quickly, the cookie has no choice but to flatten out. If it melts slowly, the cookie’s structure has time to firm up and capture those leavening gases, leading to a more substantial, puffy shape. My standard now is to chill cookie dough for at least 30 minutes, but often for 2-4 hours, or even overnight. This is especially crucial if your kitchen is warm or if you’ve handled the dough extensively, warming the butter. The colder the dough, the better it holds its shape initially, giving you that desired thickness and chewiness.
For extra insurance, I even go a step further: I ball up the dough, place it on a baking sheet lined with parchment paper, and then put the entire sheet into the fridge for 15-20 minutes right before baking. This ensures the balls are thoroughly chilled and ready for the oven.
The Baking Environment: Oven Temperature and Sheet Crowding
Even with perfectly prepared dough, your baking environment can sabotage your efforts. An inaccurate oven temperature is a notorious cookie killer. If your oven runs too cool, the butter in your dough will melt too slowly, causing excessive spreading before the cookie has a chance to set. If it runs too hot, the outside might crisp up before the inside is cooked, leading to a doughy center and potentially burnt edges, or an even faster, uncontrolled spread as the butter rapidly liquifies.
Invest in an oven thermometer. They are inexpensive and can tell you the true temperature inside your oven, which often differs significantly from what the dial says. My oven consistently runs 25 degrees cooler than its setting, a fact I only discovered after getting a thermometer. Adjust your oven dial accordingly based on its actual reading.
Equally important is avoiding an overcrowded baking sheet. It might be tempting to squeeze as many cookie dough balls as possible onto a single sheet to save time. However, this inhibits proper air circulation around each cookie. When cookies are too close, they can fuse together, bake unevenly, and produce more steam, which can also contribute to a less desirable texture. In my experience, leaving ample space (at least 2 inches) between each dough ball is non-negotiable. If you need to bake multiple batches, use multiple sheets. If you only have one, wait for it to cool completely between batches. Placing cold dough on a hot sheet can also trigger rapid spreading.
Frequently Asked Questions
Q: Can I use softened butter that was previously melted and then re-solidified?
A: While technically possible, butter that has been melted and then re-solidified will have a different crystal structure. It won’t cream with sugar as effectively as fresh, properly softened butter, which can lead to a less stable dough and flat cookies. Always aim for butter that has never been fully melted for best results.
Q: What if my dough is too sticky to roll into balls after chilling?
A: This often means your butter was too soft to begin with, or the dough needs more chilling time. If it’s still too sticky after 2-4 hours in the fridge, try chilling it for another hour or two. You can also lightly flour your hands or use an ice cream scoop to portion the dough without over-handling it.
Q: Does using different types of sugar affect how flat my cookies are?
A: Yes, absolutely. Granulated sugar promotes more spread because its sharp crystals cut into the butter, creating more air pockets during creaming. Brown sugar, with its molasses content, adds moisture and acid, which can inhibit spread and lead to a chewier, softer cookie. Recipes with a higher ratio of granulated sugar tend to produce flatter, crispier cookies, while those with more brown sugar yield puffier, chewier ones.
Q: How much space should I leave between cookie dough balls on the baking sheet?
A: A good rule of thumb is to leave at least 2 inches (5 cm) of space between each cookie dough ball. This ensures proper air circulation and prevents the cookies from baking into each other, promoting even browning and ideal puffiness.
Q: My cookies are still flat even after following these tips, what else could it be?
A: Double-check your leavening agents. Baking soda and baking powder can lose their potency over time. Ensure yours are fresh. Also, make sure you’re not over-measuring your flour; too little flour can lead to excessive spreading. Lastly, humidity can play a small role, so consider adding an extra tablespoon of flour on very humid days if you live in a high-humidity environment.
Achieving that perfectly puffy, soft, and chewy cookie isn’t just a matter of a good recipe; it’s a careful dance of technique and temperature. By mastering the nuances of butter temperature, avoiding over-creaming, diligently chilling your dough, and controlling your baking environment, you’ll transform your cookie baking from a source of frustration into a source of consistent, comforting delight. Start by observing your butter, then reduce that creaming time, and finally, give that dough a good, long chill. Your taste buds will thank you.
Written by Sarah Chen
Holistic Health & Wellness
A former health reporter passionate about demystifying wellness trends into practical daily habits.
You Might Also Like

Why Your Home Still Feels Stale (Even After Cleaning) — And What Actually Works for Real Freshness
Discover why your home still smells stale after cleaning and learn practical, non-obvious strategies for true, lasting freshness.
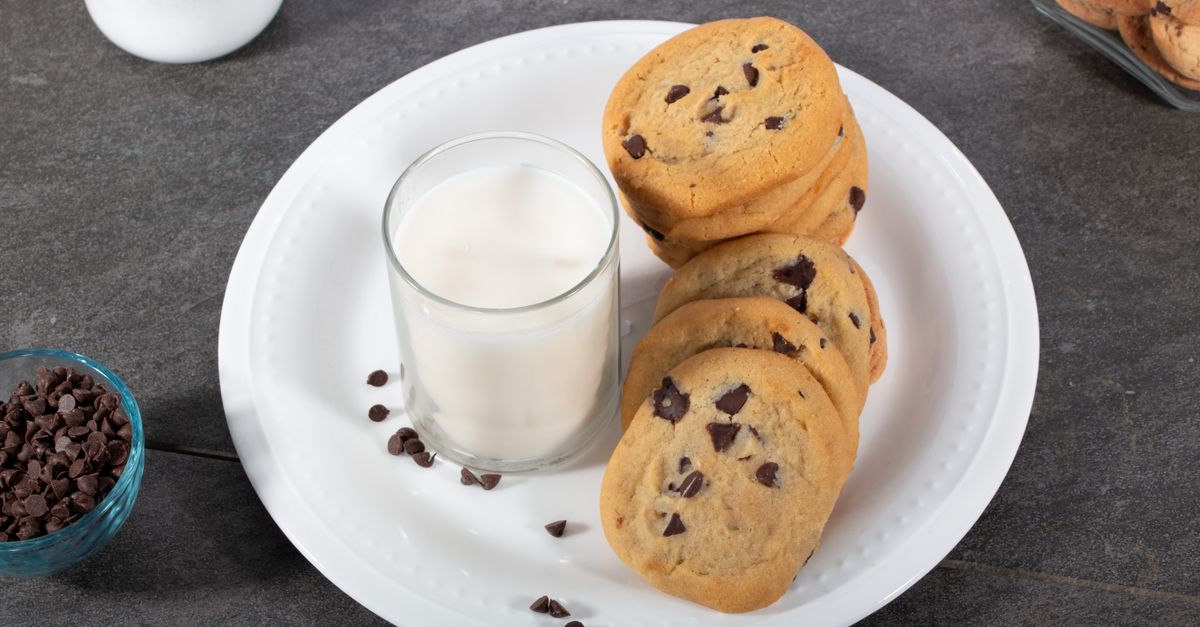
Why Your Homemade Cookies Are Flat, Not Puffy (And The Simple Shifts That Guarantee Perfect, Puffy Results Every Time)
Ever wonder why your homemade cookies spread too thin? Discover the overlooked factors and simple shifts for achieving perfectly puffy, soft cookies.
Why Your Homemade Sauces Are Greasy, Not Velvety (And The Pro Secrets for Silky Perfection Every Time)
Struggling with greasy, separated sauces? Learn the pro secrets to emulsify like a chef and achieve velvety perfection every time.