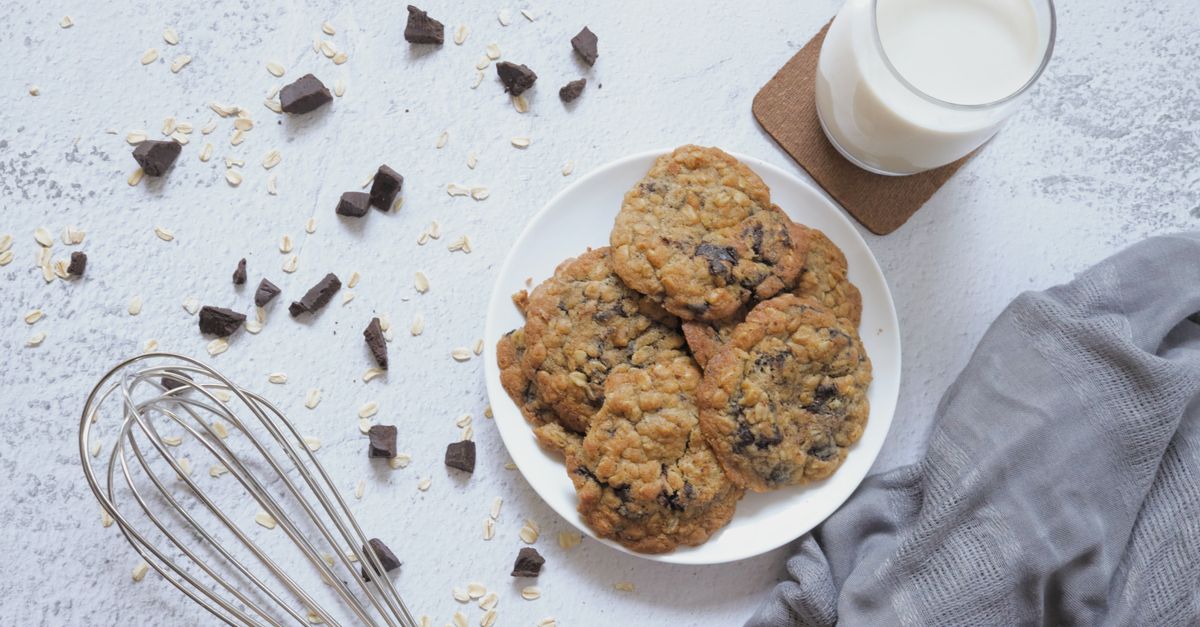
Why Your Homemade Cookies Are Flat (And The Simple Fixes That Guarantee Perfect, Puffy Results Every Time)
Are your homemade cookies consistently spreading into thin, sad discs, losing that delightful chewiness and soft center? I’ve been there. For years, I battled the frustration of meticulously following recipes, only to pull a sheet of flat, crispy wafers from the oven. It felt like a culinary curse. What was I doing wrong when every cookie photo on social media boasted perfect, pillowy mounds? The truth, I discovered, isn’t always about the recipe itself, but often about subtle, often overlooked details in ingredients, technique, and even your kitchen environment. It’s not your baking skills; it’s usually a few common mistakes that are surprisingly easy to fix.
After countless batches—some disasters, some triumphs—I’ve honed in on the real culprits that sabotage cookie texture. What changed everything for me wasn’t a secret ingredient or an exotic technique, but a deeper understanding of how basic baking principles impact the final product. You don’t need to be a pastry chef to achieve bakery-quality results. You just need to know what to tweak and why.
Key Takeaways
- Ensure your butter is truly softened, not melted, and your sugar ratios are balanced to prevent excessive spreading.
- Chill your cookie dough for at least 30 minutes to firm up fats and slow down spreading during baking.
- Use parchment paper or silicone mats and bake on light-colored baking sheets for even heat distribution.
- Measure your flour precisely by weight or the spoon-and-level method to avoid adding too little or too much.
- Understand your oven’s true temperature with an oven thermometer and avoid overcrowding your baking sheets.
The Butter Paradox: Softened vs. Melted (and Why it Matters More Than You Think)
This is perhaps the single biggest mistake I see home bakers make, and it’s one I made for years. Most recipes call for “softened butter,” but what does that actually mean? Many interpret it as butter that’s been left out for a bit, or even worse, slightly microwaved until it’s just beginning to melt. This is a recipe for flat cookies.
The Mistake: Butter that is too warm (even slightly melted) or, conversely, too cold, won’t cream properly with sugar. If it’s too warm, the butter molecules can’t hold air effectively, leading to less aeration in your dough. Less air means less lift, which means flatter cookies. If it’s too cold, it won’t combine evenly, resulting in streaks and an uneven texture.
What Actually Works: True softened butter should be cool to the touch but yield easily when pressed with a finger, leaving a slight indentation. It should be the consistency of soft serve ice cream, not liquid. In my experience, this usually means taking it out of the fridge at least an hour or two before you plan to bake, depending on your kitchen’s ambient temperature. For a quick hack, if you forgot to take it out, cut your butter into small cubes, spread them on a plate, and let them sit for 15-20 minutes. Avoid the microwave entirely if you can, as it heats unevenly and often melts the butter before you realize it.
When you cream truly softened butter with sugar, the sugar crystals cut into the butter, creating tiny air pockets. These air pockets are crucial for giving your cookies lift and a tender crumb. If your butter is too soft, these air pockets collapse, and your cookies spread out instead of puffing up. This seemingly small detail has been the most transformative change in my cookie baking journey, consistently delivering that delightful chew.
The Chilling Secret: Why Cold Dough is Your Best Friend
Many recipes suggest chilling cookie dough, but few truly emphasize why it’s so critical for preventing flat cookies. I used to skip this step, thinking it was optional, just another hurdle between me and fresh-baked goodness. Big mistake.
The Mistake: Skipping the chilling step, or only chilling for a short period, directly contributes to cookie spread. When your dough is at room temperature or warmer, the butter in the dough melts much faster in the hot oven. This rapid melting means the dough spreads out before the flour and eggs have a chance to set its structure, leading to thin, wide cookies.
What Actually Works: Chill your cookie dough for at least 30 minutes, but ideally 1-2 hours, or even overnight. What happens during chilling? Two key things: the butter firms up, and the flour hydrates. Firm butter melts more slowly in the oven, allowing the cookie structure to set before it can spread too much. This slow melt is what gives you that perfect puffy center. Meanwhile, the flour absorbs more liquid, preventing a sticky, overly loose dough. This also concentrates the flavors, making your cookies taste even better.
When I started consistently chilling my dough for a minimum of an hour, the change was dramatic. My cookies finally had that satisfying thickness and soft chew that I craved. For best results, I often prepare my dough the night before and let it chill in the refrigerator. Just make sure to cover it tightly to prevent it from drying out.
The Oven’s Deception: Understanding Your True Baking Temperature
We trust our oven dials implicitly, but often, they lie. An oven thermometer quickly became one of the most valuable tools in my kitchen. Without it, you’re essentially baking blind.
The Mistake: An inaccurate oven temperature is a stealthy saboteur of cookies. If your oven is too cool, the butter in your dough has more time to melt before the flour and egg proteins set, leading to excessive spreading. If it’s too hot, the outside of your cookies might burn before the inside cooks through, or they might set too quickly and become overly dense.
What Actually Works: Invest in a cheap oven thermometer and keep it inside your oven permanently. Calibrate your oven if necessary, or simply adjust your dial based on the thermometer’s reading. If your recipe calls for 350°F and your oven thermometer reads 325°F, set your oven to 375°F until the thermometer reads correctly. Every oven is different; mine, for instance, runs about 25°F cooler than the dial indicates.
Another critical factor is proper heat distribution. Baking on dark, thin baking sheets can cause the bottoms of your cookies to brown too quickly, and also contributes to uneven baking. Always use light-colored, heavy-gauge baking sheets. And don’t overcrowd the pan. Give your cookies space, usually about 2 inches apart, to ensure even air circulation around each one. Overcrowding can lower the oven temperature and create steam, both of which hinder proper cookie setting.
The Flour Factor: The Unsung Hero of Structure
Flour provides the structural backbone of your cookies. Too little, and your cookies will spread excessively. Too much, and they’ll be dense and dry. Precision here is paramount, and it’s another area where many home bakers unknowingly go wrong.
The Mistake: Many people scoop flour directly from the bag with a measuring cup, which compacts the flour and leads to using significantly more than the recipe intends. This can result in dry, crumbly cookies. Conversely, if you’re using too little flour, your dough will be too wet and spread out too much in the oven.
What Actually Works: Always measure your flour by weight using a kitchen scale. This is the most accurate method and eliminates variations. If you don’t have a scale (though I highly recommend getting one), use the “spoon and level” method: spoon flour lightly into your measuring cup until it overflows, then level it off with a straight edge (like the back of a knife). Never pack it down.
Different flours also have varying protein contents, which affects gluten development. For most standard cookie recipes, an all-purpose flour works best. However, if you’re experimenting with different flours, understand that a lower protein flour (like cake flour) might result in more delicate cookies that spread more, while a higher protein flour (like bread flour) might give you chewier, denser results. For consistently puffy cookies, sticking to the precise measurement of all-purpose flour is key.
The Sugar & Leavening Balance: A Delicate Dance
Sugars and leavening agents (baking soda and baking powder) play critical, often misunderstood roles in cookie texture and spread. It’s a delicate balance.
The Mistake: Using too much granulated sugar can cause cookies to spread more because granulated sugar melts faster than brown sugar and contributes to a crispier texture. An imbalance of leavening can also lead to issues: too much baking soda or powder can cause cookies to puff up dramatically and then collapse, or spread too much if the rise isn’t sustained.
What Actually Works: Pay close attention to the ratio of granulated sugar to brown sugar. Brown sugar contains molasses, which adds moisture and acidity, contributing to chewiness and helping to activate baking soda for a good rise. Many recipes that yield puffy, chewy cookies use a higher proportion of brown sugar to granulated sugar. If your recipe calls for mostly granulated sugar and your cookies are consistently flat, consider swapping a quarter to a third of it for brown sugar.
Also, ensure your leavening agents are fresh. Baking powder and baking soda lose their potency over time, sometimes as quickly as 6 months after opening. Test your baking soda by mixing a quarter teaspoon with a tablespoon of vinegar; it should fizz vigorously. Test baking powder by mixing a quarter teaspoon with a tablespoon of hot water; it should also fizz. If they don’t, it’s time for new ones. Using fresh leavening ensures your cookies get the necessary lift to stay thick and resist excessive spreading. I also pay attention to how dense the final dough is; if it feels overly loose or wet, it’s a sign that the balance might be off and a small, precise addition of flour might be needed, or more chilling time to firm up.
Frequently Asked Questions
Q: Can I use cold butter if I’m in a hurry?
A: While technically possible with some recipes that specifically call for melted butter, for most standard cookie recipes requiring “softened” butter, using cold butter will result in a denser, less airy cookie texture and can still lead to spreading issues because it won’t cream properly with sugar. The air pockets needed for puffiness won’t form. It’s best to allow butter to soften naturally to the correct temperature.
Q: My cookies are always crispy, not chewy. What am I doing wrong?
A: Crispy cookies often result from too much granulated sugar, not enough brown sugar, or overbaking. Granulated sugar promotes spread and crispness. Try increasing the ratio of brown sugar to granulated sugar, as brown sugar’s molasses content adds moisture and chewiness. Also, pull your cookies from the oven when the edges are just set and the centers still look slightly soft; they will continue to cook slightly on the hot baking sheet.
Q: Why do my cookies look perfect when I take them out, but then flatten as they cool?
A: This is often a sign of insufficient structure. It could be due to butter that was too soft before baking, an inaccurate oven temperature (too low), or not enough flour. The structure hasn’t fully set, so the cookie collapses as the internal steam escapes and it cools. Ensure your butter is properly softened (not melted), your oven is calibrated, and your flour is accurately measured.
Q: Does the type of baking sheet matter?
A: Absolutely. Dark-colored baking sheets absorb more heat and can cause the bottoms of your cookies to brown too quickly, potentially leading to a firmer crust and more spread before the center sets. Light-colored, heavy-gauge aluminum baking sheets reflect heat, promoting more even baking and helping your cookies hold their shape better. Using parchment paper or silicone baking mats also helps regulate heat and prevents sticking.
Q: How long should I chill cookie dough?
A: For optimal results, aim for at least 30 minutes, but 1-2 hours is ideal. If you can chill it overnight, even better. The longer chilling time allows the fats to firm up and the flour to fully hydrate, both of which are crucial for preventing excessive spreading and developing deeper flavor. If chilling for more than a few hours, make sure the dough is covered tightly to prevent it from drying out.
Achieving perfectly puffy, chewy cookies isn’t about magic; it’s about understanding the science behind your ingredients and making small, intentional adjustments to your process. By focusing on truly softened butter, chilling your dough, verifying your oven temperature, accurately measuring flour, and balancing your sugars and leavening, you’ll transform your baking from flat failures to consistently delightful triumphs. Don’t be afraid to experiment with these tips; your next batch of cookies might just be your best yet.
Written by Emily White
Mindfulness & Personal Growth
A meticulous editor with a background in educational publishing, ensuring clarity and accuracy in every piece.
You Might Also Like

Why Your Home Still Feels Stale (Even After Cleaning) — And What Actually Works for Real Freshness
Discover why your home still smells stale after cleaning and learn practical, non-obvious strategies for true, lasting freshness.
Why Your Homemade Cookies Are Flat, Not Puffy (And The Simple Shifts That Guarantee Perfect, Puffy Results Every Time)
Ever wonder why your homemade cookies spread too thin? Discover the overlooked factors and simple shifts for achieving perfectly puffy, soft cookies.
Why Your Homemade Sauces Are Greasy, Not Velvety (And The Pro Secrets for Silky Perfection Every Time)
Struggling with greasy, separated sauces? Learn the pro secrets to emulsify like a chef and achieve velvety perfection every time.