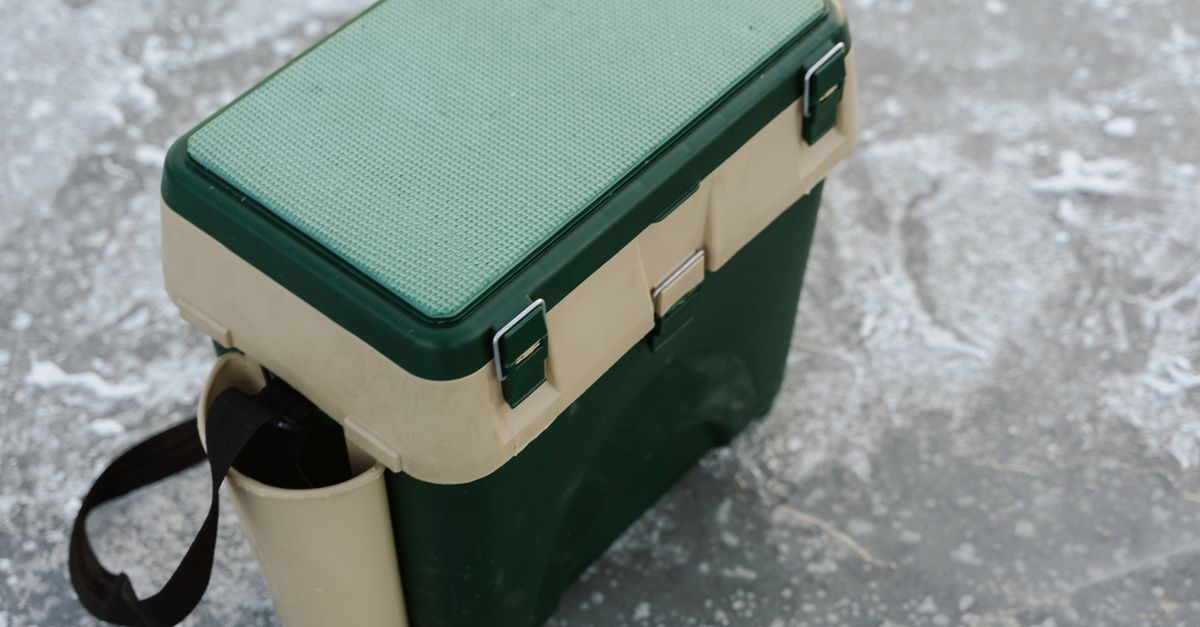
Why Most Budget Camping Coolers Fail (And What Actually Keeps Things Cold for Days)
You’re packing up for a long weekend camping trip, the sun is shining, and you’ve got visions of ice-cold drinks and perfectly preserved food. You grab your trusty (or maybe not-so-trusty) budget cooler, load it with ice, drinks, and ingredients, and hit the road. Fast forward 12 hours, and your ice is mostly water, your lettuce is wilting, and that cold beer is now just… cool. Sound familiar?
I’ve been there more times than I care to admit. For years, I cycled through cheap plastic coolers, always lured by the low price tag and the promise of ‘holds ice for 24 hours!’ Only to be disappointed by soggy food and warm beverages. The mistake I see most often is believing that all coolers are created equal, or that a few dollars saved upfront will translate to a good deal. In reality, most budget camping coolers are designed to look the part, but fundamentally fail at their core job: insulation and ice retention.
What changed everything for me was understanding the hidden science and practical realities behind effective cooling. It’s not just about throwing ice in a box; it’s about the construction, the materials, and how you use the cooler. If you’re tired of warm food and melted ice ruining your outdoor adventures, it’s time to dig into why those budget options just don’t cut it, and what actually works to keep things genuinely cold for days on end.
Key Takeaways
- Most budget coolers use thin insulation and flimsy seals that compromise ice retention within hours, leading to wasted ice and spoiled food.
- Investing in a rotomolded cooler with thick, pressure-injected insulation and freezer-grade gaskets offers superior ice retention for multiple days.
- Pre-chilling your cooler, using block ice, and minimizing lid openings are crucial usage habits that significantly extend cooling performance.
- Effective drainage systems and robust latches are overlooked features that contribute to a cooler’s long-term performance and user convenience.
The Illusion of ‘Insulation’: Why Cheap Coolers Fail So Quickly
The biggest lie budget cooler manufacturers tell you isn’t with their marketing, but with their construction. They advertise ‘insulated walls,’ and technically, they’re not wrong. There’s usually some foam in there. The problem, in my experience, is threefold: the type of foam, its thickness, and how it’s integrated.
Take a typical budget cooler, say one costing under $50 for a 40-quart model. If you could cut it open (which I’ve actually done with an old, broken one out of curiosity), you’d find a thin layer of expanded polystyrene (EPS) foam, often no more than an inch thick, loosely sandwiched between flimsy plastic inner and outer shells. EPS, while having some insulating properties, is far from ideal. It’s essentially the same material as a cheap coffee cup or a packaging insert. It’s full of air pockets that allow heat transfer, and it often doesn’t fill the entire cavity, leaving uninsulated gaps.
Compare this to a higher-performing rotomolded cooler (often costing $200-$400+). These are constructed as a single, seamless piece of plastic, then pressure-injected with dense polyurethane foam. This foam is significantly thicker, usually 2-3 inches on all sides, and completely fills the cavity, creating a solid thermal barrier. The rotational molding process itself results in much thicker, more durable plastic walls that further resist heat penetration. This isn’t just a slight difference; it’s like comparing a paper bag to a vacuum flask.
I remember one trip where I bought a new budget cooler, excited by its large capacity for a week-long camping trip. I loaded it with two 10-pound bags of ice and food for three days. By the end of the first full day, 75% of the ice was gone, and by the morning of day two, I was left with a cold pond and soggy sandwiches. The ‘insulation’ was barely more than a suggestion. It simply couldn’t stand up to a warm car ride and midday sun. My conclusion: if a cooler feels light and hollow, especially for its size, its insulation is likely inadequate. Prioritize density and thickness, not just exterior dimensions, when evaluating a cooler’s true ability to retain ice.
The Overlooked Enemy: Flawed Gaskets and Latches
Even with decent insulation, a cooler is only as good as its weakest link – and that’s almost always the seal and latches on budget models. Heat doesn’t just seep through walls; it leaks through gaps. A poorly designed lid and latch system creates direct thermal bridges where warm air can enter and cold air can escape.
On most budget coolers, the lid simply presses down onto the cooler body. The ‘seal’ is typically just a thin lip of the plastic molding itself, or a very thin, hard piece of foam. This contact point is rarely airtight or watertight. Over time, or even with minimal use, the plastic can warp, further compromising the already weak seal. The latches are often simple plastic clips that provide minimal compression, meaning the lid isn’t actually pulled tightly against the body.
Contrast this with high-performance coolers. They typically feature heavy-duty, freezer-grade rubber gaskets (the kind you find on a home freezer door). These thick, pliable gaskets create an airtight, watertight seal when the lid is closed. The latches are often robust rubber T-latches or heavy-duty cam latches that pull the lid down with significant force, compressing the gasket and sealing the cooler completely. This prevents warm air from creeping in and precious cold air from escaping.
My worst experience with this was on a fishing trip. We had a budget cooler full of fresh catch packed on ice. The plastic latches were brittle and one snapped when we hit a bump on the dirt road. By the time we arrived at camp, the cooler lid had popped open slightly, and half the ice had melted. Not only did we lose ice, but some fish had started to warm, necessitating an immediate cook-up rather than being able to store it for longer. I learned the hard way that robust, high-quality latches and a proper seal are non-negotiable for serious ice retention.
The Critical Role of Pre-Chilling (And Why Most People Skip It)
This is a tip I wish I’d learned years ago: you can have the best cooler in the world, but if you don’t pre-chill it, you’re starting at a disadvantage. Most people just throw their warm drinks and a bag of ice into a warm cooler. Think about it: that cooler has likely been sitting in your garage or car, at ambient temperature, which could be 70°F or even 90°F on a hot day. All that thermal energy needs to be absorbed by your fresh ice before it can even start cooling your contents. This significantly reduces your effective ice retention time.
Pre-chilling involves using sacrificial ice or ice packs to bring the internal temperature of the cooler down before you load it with your actual perishables and primary ice. My go-to method now is to throw a bag or two of cheap ice into the cooler 6-12 hours before I plan to pack it. I close the lid and let it sit. That ice will melt, absorbing all the heat from the cooler walls. When it’s time to pack, I dump out the meltwater (or use it for watering plants), and then load my pre-chilled items and fresh, primary ice into an already cold environment.
On a three-day backpacking trip where every ounce mattered, I packed food for a friend’s arrival on day two. I pre-chilled my smaller rotomolded cooler the night before with a frozen water bottle. In the morning, I swapped the now partially melted bottle for a fresh, block of ice and my chilled food. Despite the heat, the food for day two was perfectly cold when my friend arrived. This simple step can add a full day or more to your ice retention, regardless of your cooler’s quality, but it’s especially noticeable with better-insulated models. Without pre-chilling, you’re essentially wasting the first 12-24 hours of your ice’s lifespan just getting the cooler itself cold.
Ice Matters: Why Block Ice Trumps Cubes (And How to Make Your Own)
The type of ice you use is just as important as your cooler. I used to buy multiple bags of cubed ice, thinking more ice equals colder longer. This is another common misconception. Cubed ice, with its higher surface area to volume ratio, melts much faster than block ice.
Think of it this way: a small ice cube has a lot of surface exposed to the warmer air and contents in the cooler, allowing it to absorb heat and melt quickly. A large block of ice, however, has a smaller surface area relative to its mass. It takes significantly longer for heat to penetrate and melt the entire block. Block ice also chills contents more slowly but maintains temperature for a much longer duration.
My experience? When I switched to primarily using block ice, my ice retention doubled, sometimes tripled, for the same duration trip. I learned to make my own by freezing large plastic water bottles (or milk jugs) filled with water. This has the added benefit of not introducing meltwater into your cooler until the ice is mostly gone, keeping your food from getting soggy. For a typical weekend trip, I’ll aim for one large block of ice, supplemented with some cubes to quickly cool newly added drinks.
For longer trips, I use a combination: a large block on the bottom, then layer items, then a layer of cubed ice on top for initial rapid cooling. When the cubes are mostly gone, the block continues to do the heavy lifting. This strategy, combined with pre-chilling, is the reason I can now keep food reliably cold for 3-5 days in my quality cooler, something that was utterly impossible with budget models and only cubed ice.
Strategic Packing and Placement: Maximizing Cooler Performance
Once you have a good cooler and the right ice, how you pack it and where you place it are the final pieces of the puzzle. This goes beyond just cramming everything in.
- Chill Contents Before Packing: Don’t put warm drinks or food into your cooler. Pre-chill everything in your refrigerator or freezer first. Your cooler’s job is to maintain cold, not to make cold from scratch. Warm items will rapidly melt your ice.
- Layer Smartly: Place block ice at the bottom. Then, put items you want coldest and that can withstand some moisture (like bottled water, canned drinks, or items in waterproof containers) directly on the ice. Layer perishable food (especially things you don’t want soggy) on top of a buffer, like a cutting board or a layer of less-perishable items. Fill any gaps with more ice (cubes are good for this) or crumpled newspaper to reduce air space.
- Minimize Air Space: Air is your enemy. The more empty space in your cooler, the more warm air there is to chill, and the faster your ice will melt. Pack it full, even if it means using extra ice, frozen water bottles, or crumpled newspaper/towels to fill voids.
- Use Frozen Water Bottles/Gel Packs: These are excellent for filling gaps and can be consumed as cold water later, or refrozen if you have access to a freezer. They melt slower than ice cubes and don’t create additional meltwater.
- Keep it Closed: This is perhaps the most obvious, yet most frequently ignored rule. Every time you open the lid, warm air rushes in. Designate one person as the ‘cooler master,’ or better yet, use two coolers: one for drinks (frequently accessed) and one for food (accessed sparingly).
- Shade and Elevation: Don’t leave your cooler in direct sunlight, especially on a hot day. Keep it in the shade, under a tarp, or in your car. Elevate it off hot ground (like asphalt or sand) if possible, using a stand, a piece of wood, or even a towel. Heat transfer from the ground can be significant.
I vividly remember a family beach trip. My dad, ever the pragmatist, had two coolers: one for drinks that was constantly opened, and a dedicated ‘food’ cooler that stayed zipped up under a beach umbrella. Our sandwiches and fruit stayed pristine and cold all day, while the drink cooler needed an ice top-up by mid-afternoon. That simple two-cooler strategy, combined with smart placement, was a revelation. It allowed the food cooler to perform optimally, untouched by the constant thermal assaults of thirsty beachgoers. These habits, more than any single cooler feature, dictate real-world performance.
The Real Value Proposition: Why Investing in a Quality Cooler Pays Off
I’ve tried the budget cooler merry-go-round, and it never ends well. You spend $30-$50 on a cooler, it fails within a year or two (broken latches, warped lid, poor insulation), you throw it out, and buy another. The hidden cost isn’t just the recurring purchase; it’s the wasted ice, the spoiled food, the stress of lukewarm drinks, and the environmental impact of constantly replacing flimsy plastic.
A higher-end, rotomolded cooler (like a Yeti, RTIC, Orca, or similar brand) is a significant upfront investment, often $200-$400+. But in my experience, it’s one of the best long-term investments you can make for outdoor adventures. Here’s why:
- Superior Ice Retention: They actually do what they promise, holding ice for 3-7 days, depending on conditions and usage. This means fewer trips to buy ice, less waste, and more reliably cold food.
- Durability: Rotomolded coolers are built like tanks. They can withstand being dropped, sat on, used as a step, and generally abused on countless trips without breaking or compromising their integrity. Many come with a 5-year or even lifetime warranty.
- Functionality: Beyond insulation, these coolers often feature integrated bottle openers, non-slip feet, strong rope handles, tie-down slots, and effective drain plugs. These small details add up to a much more enjoyable user experience.
- Peace of Mind: Knowing your food and drinks will stay cold, even on a multi-day trip in warm weather, removes a significant source of stress from your outdoor planning.
My first quality cooler felt like a splurge. I agonized over the cost. But that investment paid for itself quickly in saved ice, unspoiled food, and pure convenience. On a recent 4-day desert camping trip, my cooler, pre-chilled and packed with block ice, still had solid ice on day four. My friends with their budget coolers were making daily runs for ice. That, to me, is the real value proposition. It’s not just a cooler; it’s an enabler of more comfortable, more relaxed, and ultimately, more enjoyable outdoor experiences. Stop buying cheap plastic that fails you. Invest in quality once, and enjoy the true benefits of cold for years to come.
Frequently Asked Questions
Q: Are expensive rotomolded coolers really worth the money?
A: In my experience, absolutely, if you value multi-day ice retention and extreme durability. While the upfront cost is higher, they quickly pay for themselves in saved ice, prevented food spoilage, and their ability to withstand years of heavy use without breaking, unlike cheaper alternatives.
Q: How much ice should I put in my cooler for best results?
A: A good rule of thumb is a 2:1 ratio of ice to contents by volume. The more ice you have, the longer it will stay cold. Filling empty space with ice or frozen items is crucial for maximizing retention.
Q: Should I drain the meltwater from my cooler, or leave it in?
A: For optimal ice retention, it’s generally best to drain meltwater, especially if you’re using block ice. Meltwater warms up quickly and will accelerate the melting of remaining ice. However, if using cubed ice and frequently opening the cooler, a small amount of cold water can help cool new items. Always prioritize draining if using block ice to extend its lifespan.
Q: Can I use dry ice in my regular cooler?
A: Most budget coolers are not designed for dry ice, which is significantly colder than water ice and can warp or damage the plastic. High-quality rotomolded coolers can often handle dry ice, but always check the manufacturer’s recommendations and use proper ventilation and handling precautions.
Q: What’s the best way to clean and store my cooler after a trip?
A: After each trip, drain all water, remove any remaining food particles, and wash the cooler with warm, soapy water. Rinse thoroughly and allow it to air dry completely with the lid propped open to prevent mildew and odors. Store it in a cool, dry place, ideally with the lid slightly ajar to allow for air circulation.
Conclusion
Don’t let the promise of a ‘deal’ on a budget cooler mislead you into a frustrating cycle of melted ice and spoiled food. My years of outdoor adventures have taught me that true cold retention is a combination of quality construction, smart ice choices, and diligent packing habits. Stop compromising your outdoor enjoyment with flimsy gear. Embrace the strategies of pre-chilling, using block ice, and investing in a cooler that’s truly engineered for the job. You’ll not only save money and reduce waste in the long run but also unlock a new level of convenience and comfort on every camping trip, picnic, or beach day. Make the shift, and experience the difference that genuinely cold refreshments can make.
Written by David Miller
Productivity & Lifestyle Design
An experienced lifestyle columnist who crafts accessible advice for improving daily routines and personal spaces.
You Might Also Like

Why Your Home Still Feels Stale (Even After Cleaning) — And What Actually Works for Real Freshness
Discover why your home still smells stale after cleaning and learn practical, non-obvious strategies for true, lasting freshness.
Why Your Homemade Cookies Are Flat, Not Puffy (And The Simple Shifts That Guarantee Perfect, Puffy Results Every Time)
Ever wonder why your homemade cookies spread too thin? Discover the overlooked factors and simple shifts for achieving perfectly puffy, soft cookies.
Why Your Homemade Sauces Are Greasy, Not Velvety (And The Pro Secrets for Silky Perfection Every Time)
Struggling with greasy, separated sauces? Learn the pro secrets to emulsify like a chef and achieve velvety perfection every time.